Responsive Digital Signage
In this tutorial, you will learn to embed videos and images from MediaRSS sources in an HTML5 page as responsive digital signage.
What does responsive means?
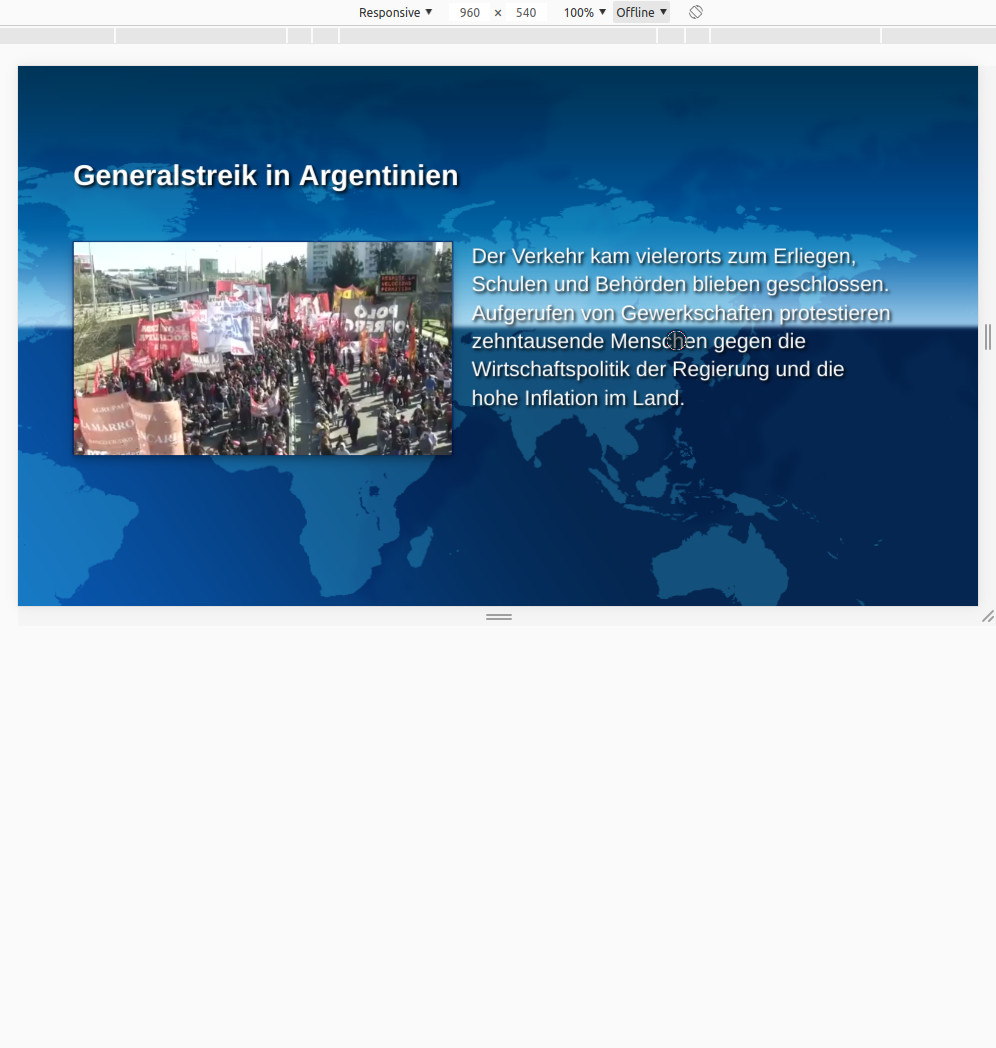
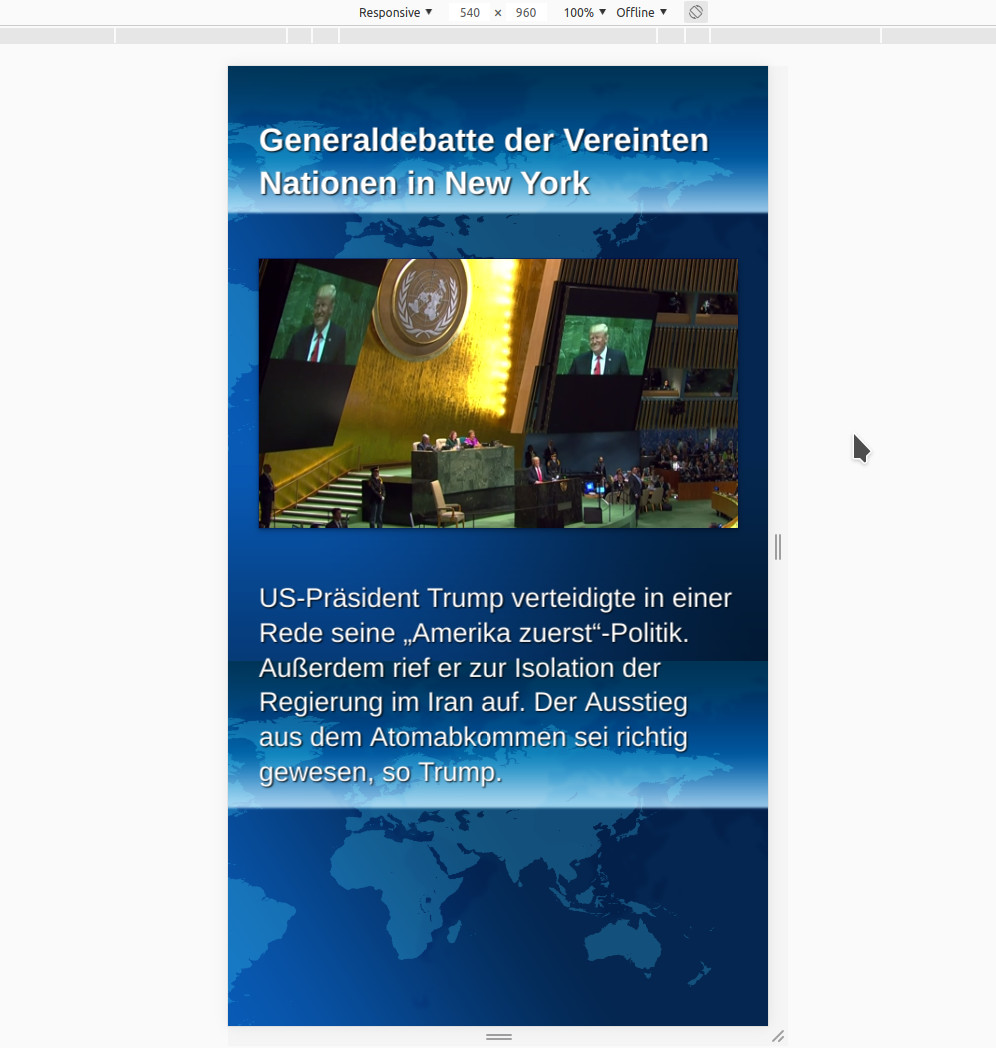
Being able to design websites responsively is a significant advantage of HTML5/CSS3. This technique allows us to create digital signage content that automatically adapts to different output devices. For example, the content elements arrange themselves differently depending on the orientation (horizontal/vertical).
This can save us time and resources. For example, we no longer need to maintain multiple files with redundant content. In our sample, it is not even necessary to provide extra videos for landscape or portrait format. In addition, you have the general advantages of HTML compared to pure video or images. For example, interactions or the ability to scale our texts depending on the display size without getting pixelated.
The Ingredients for Responsive Digital Signage
First of all, we need an RSS feed with video content. The feed of the German “Tagesschau” is ideal for this. We assume that you know what an RSS feed is. If not, the posting Channels with SVG and Feeds explains that in detail.
In the article about CSS Running Texts you'll find a technique to comfortably retrieve RSS feeds via the Yahoo Query Language Javascript. We will also use these here.
The same post also talks about how CSS3 technique is used for animations. In our example we will take these CSS3 keyframes to discreetly fade in and out the individual videos.
The Sample Source Code
You can view the complete source code of the responsive Digital Signage Design tutorial at
Github.
The concept and the individual work steps are explained quickly.
- We fetch the RSS feed and the background image from the Tagesschau server.
- Thereafter we build all message blocks (articles) of the page dynamically using Javascript and set them to invisible.
- As soon as the page is loaded, we show the first block and hide it again after 15s. Then the next message etc.
- When we reach the end of messages, we start again from the first block.
Update: The Yahoo-Api has been discontinued. So I wrote a small replacement script and published it under github. The script is mostly compatible to the Yahoo-Api. Therefore it can be used with this tutorial.
We will now guide you from bottom to top through the individual functions.
The HTML Area
<body onload="start()">
		<section id="feed">
		</section>
	</body>
Is short and crisp. Within the section tag, the createTickerOutput() function later inserts the individual message articles.
Attention!
We consciously use the semantic tag section for correctness and no unspecific div. Theoretically, we can display additional sections e.g. for queuing systems
or interaction buttons next to the feed or superimposed.
The first command to the browser is to call the function start() after loading the source code (onload).
The Start() Function
The start() function sets the background image and calls the getRSS() fetch function with the RSS URL as a parameter. For the link to the background image as well as to the RSS, we use constants at the beginning of the script at line 74.
This has the following sense: In SmilControl and other CMSs, there is the possibility to provide so-called templates with placeholders. The users can then personalize the template comfortably for their playlists/campaigns. For example, use a different feed, background and display times. In this case, you would have to exchange the constants for placeholders to make an HTML5 template out of our example.
Process the RSS
In the contribution CSS3 running texts with RSS we described the function getRSS() in detail. If successful, it calls the function handleTicker(). This function forwards the feed to createTickerOutput().
Each article receives a message block in the following format.
<article class="slides">
	<h1>Header rr message</h1>
	<video muted loop> oder <img> - tag
	<div>Description of the message</div>
</article>
The function readEnclosure() checks the enclosure tag of the MediaRSS item. If it is a video the video tag is used if it is a picture the img tag is used. Videos additionally get the attributes mute and loop. As a rule, the sound is often undesirable in digital signage installations, apart from background music. In addition, the videos should run in an endless loop. Every news report appears for 15s (constant _slide_duration), but we don't know how long the clips are. A premature abort would therefore not look well.
Display messages
CreateTickerOutput() builds the HTML structure completely. Then the function displayTicker() inserts the created HTML into the sections tag described above and calls showSlides() for the first time. This sets the first message to visible and starts the video if necessary. Since the _slide_duration constant is set to 15, the showSlides() function calls itself after 15 seconds (recursion). It recognizes that a news article is currently playing, pauses the video and starts the next article.
Set Layout and Design
Until now, we took care of the program logic. Let’s now turn to the design for responsive digital signage we promised at the beginning.
Font Sizes
In order to be readable at any screen resolution, the dimensions must be relative. In the past, we used to use em or rem as a percentage or relative to the basic font size. This was often complicated and error-prone. CSS3, fortunately, introduced new units of measurement such as vw (Viewport width) and vh (Viewport height). As the name suggests, these units refer to the window size and simplify the handling enormously. Especially with regard to height changes.
Media Queries
A further aid for responsive digital signage is the so-called media query. This allows you to determine the type of document for different media types or media characteristics. For example, the screen resolution, whether it is a printer or screen, etc. In our case, we have decided to differentiate by orientation. Digital signage content is displayed in either landscape or portrait format. Our task now is to find values which display many different screen resolutions and ratios, e.g. 16:9, 21:9 or 9:16, in an appealing way. All information must remain within the field of view. By the way, this can become a challenging task even with simple content.
The Default Settings
Before we start with the media queries, we need a few default settings
body
{
	background: #042650 no-repeat fixed;
	background-size:cover;
}
The background is fixed in dark blue and does not repeat.
A possible background image is squeezed to cover the entire display area. This is not the best solution, but still acceptable with our dark background image.
h1
{
	color: #fff;
	font: bold 3.0vw sans-serif;
	text-shadow: 2px 2px 4px #000;
}
For the headline we choose a bold sans serif standard font and add a subtle shadow cast.
video, img
{
	box-shadow: 0 4px 8px 0 rgba(0, 0, 0, 0.2), 0 6px 20px 0 rgba(0, 0, 0, 0.19);
}
div
{
	font: normal 2.2vw sans-serif;
	color:#fff;
	text-shadow: 2px 2px 4px #000;
}
The video and the normal continuous text also get a slight cast of shadows. Since the shadows are subtle, we use pixel values for simplicity.
Fading
The transitions between the different message blocks are always blended gently. We use the keyframe technology presented in CSS3-running texts with RSS for this purpose.
We adjust the transitions in this way:
@keyframes fade
{
	from
	{
		opacity: 0;
	}
	to
	{
		opacity: 1;
	}
}
and include the animation in the container class slide.
.slides
{
	clear: both;
	display:none;
	opacity: 0;
	animation: fade 1s linear forwards;
}
Additionally, we set the display to none and the opacity to 0 by default.
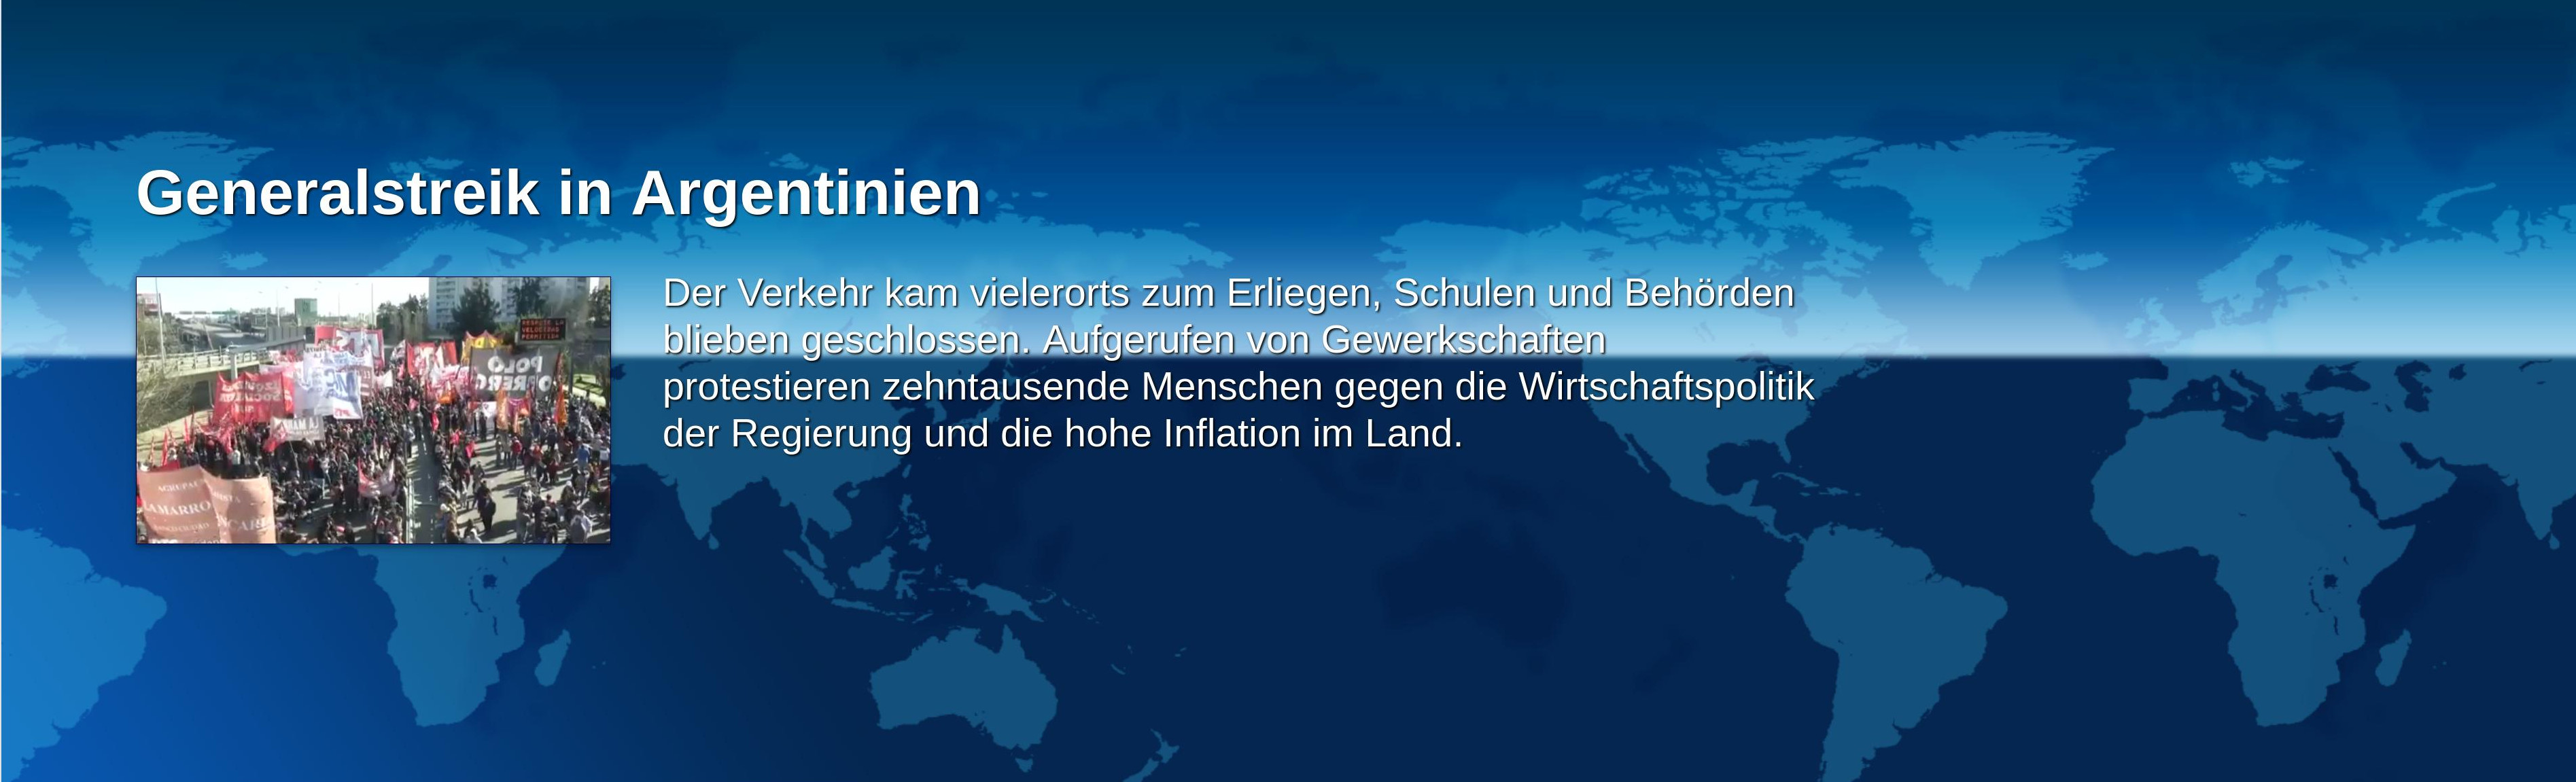
Settings for Landscape
Now we come to the CSS settings for the landscape format.
@media screen and (orientation:landscape)
{
	h1
	{
		font-size: 6vh;
		margin: 20vh 5vw 5vh 5vw;
	}
	video, img
	{
		float:left;
		max-width:40vw;
		width:60vh;
		margin: 1vh 0 0 5vw;
		border:1px solid #004;
	}
The heading as well as the distance from the upper edge we make dependent on the height of the display area. In this case 6vh means 6% of the display height. This has the following background: If we have to draw the image for a video wall in width, e.g. for a 32:9 ratio, both the headline and the image or video would become much too large and exit the display area. In order to contain this, we set limits to growth. The video should occupy 60% of the height but not exceed 40% of the width.
div
	{
		float:left;
		font-size: 4vmin;
		line-height:5vmin;
		width:45vw;
		margin: 0 0 0 2vw;
		padding:0;
	}
}
It gets a little more complicated with the continuous text. On the one hand, it must not become too large, but not too small either. So we limit the maximum width of the div to 45% of the width. Setting a minimum font size of vmin means that the font must always be at least 5% of the display width or height. So we ensure that e.g. with an aspect ratio of almost 1:1 the font remains readable.
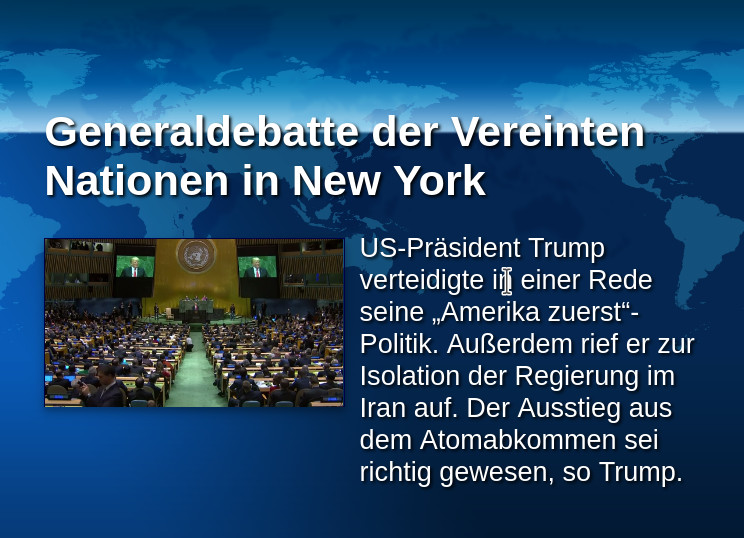
Portrait Settings
The settings for Portrait are a little simpler, because in this case we can arrange headline video and continuous text below each other.
@media screen and (orientation:portrait)
{
	h1
	{
		font-size: 4.5vh;
		line-height:5.5vh;
		text-align:center;
	}
The heading is centered and the size depends on the height.
video, img
	{
		width:90vw;
		margin: 0vh 0 4vh 5vw;
	}
The video occupies 90% of the visible width and keeps distance to the text below.
div
	{
		font-size:3vh;
		line-height:4.5vh;
		width:90vw;
		margin: 0 0 0 5vw;
	}
}
The continuous text also occupies 90% of the width as the heading depends on the display height.
Wage of Trouble
Click on responsive-sample.html to see our responsive digital signage example live in your browser. Change the size of your browser window as you like. You will notice that, apart from some extreme aspect ratios, the contents are always displayed completely.
We hope we have given you an interesting insight into responsive digital signage. You are welcome to use, modify and further develop our example.
If you have any questions, please do not hesitate to contact us. We would also be pleased to receive your suggestions for improvement.
Author: Niko Sagiadinos
Open Source Developer & Co-Founder SmilControl – Digital Signage Visit me on: GitHub or LinkedIn
Open Source Developer & Co-Founder SmilControl – Digital Signage Visit me on: GitHub or LinkedIn